
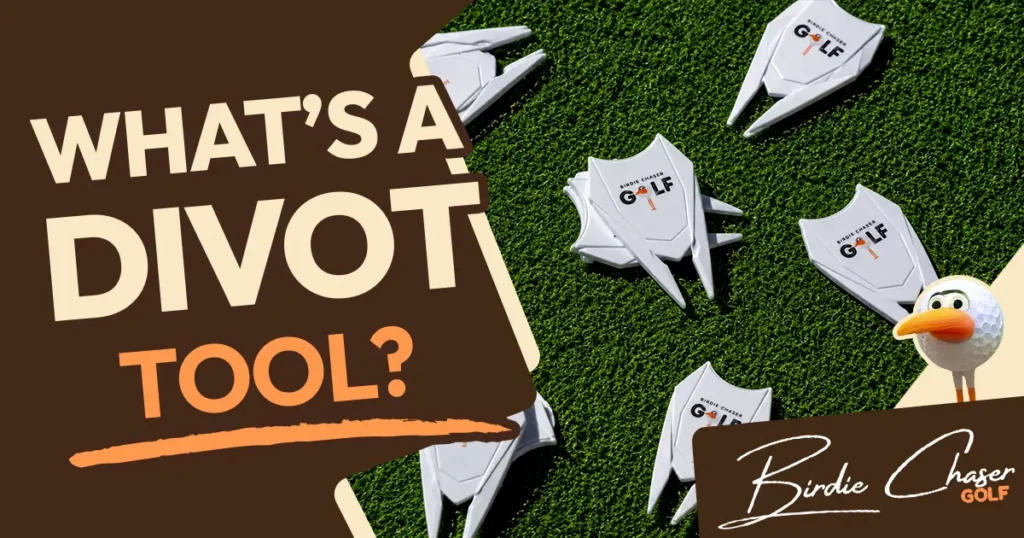
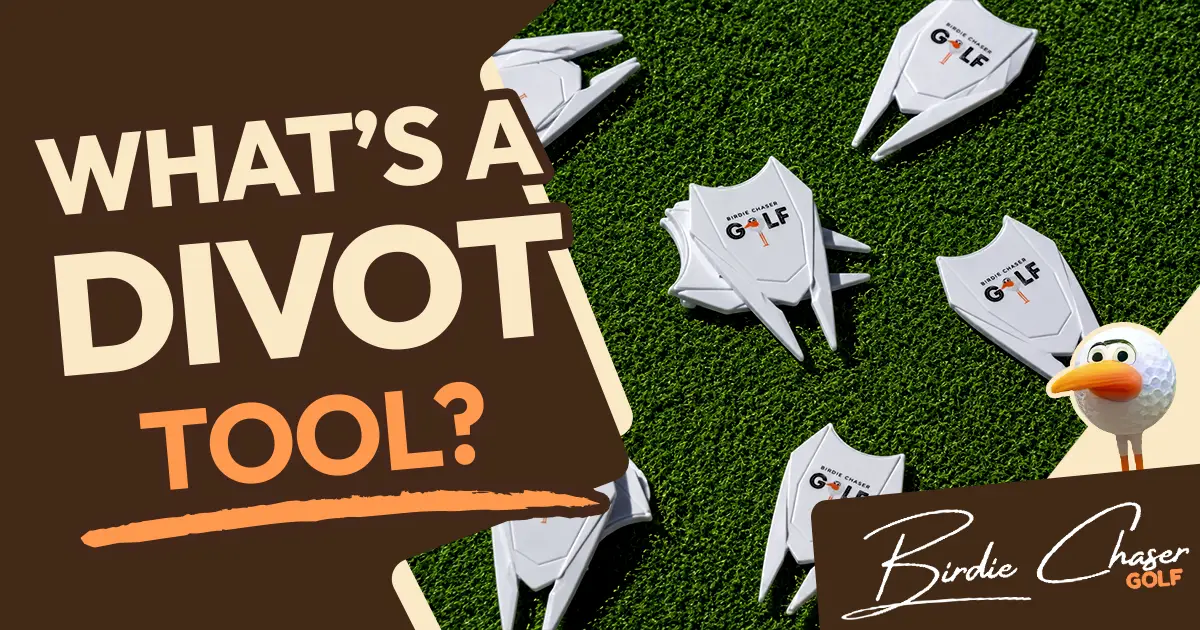
That little fork-shaped tool in your pocket can fix a ball mark in under 15 seconds. Here’s how to do it right, and what happens when you don’t.
What is a divot tool?
A divot tool is a small, pronged tool you use to repair ball marks on the putting green. You might hear it called a divot repair tool, a pitch mark repair tool, or a green fork. Whatever you call it, the function is the same.
Most divot tools look like a two-pronged fork small enough to fit in your pocket or clip to your golf bag. The prongs are what you insert into the turf to work the grass back into place after your ball dents the green.
You’ll see a few styles out there: the classic two-prong, switchblade versions that retract into the handle, single-prong tools, and multi-tools that double as a ball marker or bottle opener. They all do the same job. What matters is you pick one that you’ll actually carry. Tools such as the Birdie Chaser divot tool are ideal for their purpose while being fashionable enough to carry on the course.
Ball marks vs. fairway divots: know the difference
A ball mark is the dent your ball leaves on the putting green when it lands. This is what your divot tool fixes. A fairway divot is the strip of turf your iron rips up on a swing. You fix those with sand or by replacing the turf chunk. Both get called “divots,” but the tools and techniques are different.
How to fix a ball mark in 5 steps
Next up, you’re going to get a step by step instruction on how to fix a ball mark divot.
Step 1: Find the ball mark
Look for the dent where your ball first hit the green, not the scuff from the bounce or roll. Ball marks are round, slightly depressed, and usually have a small raised lip of turf around the edges. On a soft green, they’re obvious. On firm greens, you might need to look a little closer.
Step 2: Insert the prongs at the edges
Push the prongs of your divot tool into the turf at the edge of the ball mark, not into the center of the depression. Angle them at about 45 degrees, pointing toward the middle.
Don’t go straight into the center. The edges are where the turf is still connected and alive.
Step 3: Push inward, not upward
This is the step most people get wrong. Gently push the turf toward the center of the mark. Do not lever the tool upward like a crowbar.
Pushing inward closes the gap by sliding healthy turf back over the damaged spot. Inward, always.
Step 4: Work around the mark
Move the tool around the outside of the ball mark and repeat the insert-and-push motion from a few different angles. Think of the mark like a clock face: push inward from 12, 3, 6, and 9 o’clock. Four or five insertions usually does it.
You want the turf to meet back in the middle without any gaps or torn edges.
Step 5: Tap it flat
Once the turf is back in place, press the area smooth with the flat bottom of your putter. A light tap or two is enough. You’re closing any remaining air pockets and making sure the surface sits level with the rest of the green.
The whole repair takes about 10 to 15 seconds. You’re not holding anyone up.
What happens when you get it wrong
A few common mistakes can undo a repair or make the damage worse.
- Levering upward instead of pushing inward. This tears the root system underneath the grass, and it dies within a few days. You’ll see the brown patch where the roots gave out. Recovery takes three to four weeks instead of one.
- Inserting the tool into the center of the mark instead of the edges. This tears the grass further apart rather than bringing it back together.
- Skipping the smooth-down step. The grass might heal, but the green stays uneven for anyone putting over that spot in the next hour.
- Not repairing the mark at all. A ball mark you fix properly heals in about one to two weeks. One you leave alone can scar the green for months.
Why it matters more than you think
On a busy day, a single green can collect hundreds of ball marks. Under the Rules of Golf, you’re allowed to repair ball marks on the putting green at any time. Most courses rely on golfers to handle their own, because the grounds crew can only cover so much.
Repairing ball marks is one of those small pieces of golf etiquette, right alongside replacing your fairway divots and raking bunkers, that keeps the course playable for everyone who comes after you. It takes 15 seconds and costs nothing, but the golfers who play after you will notice the difference.
If you’re new to golf, this is one of the first habits worth building. Nobody expects you to break 90 your first year. But fixing your ball marks? That earns quiet respect from every golfer on the course.
Grab a tool, fix a mark, chase the next birdie
Now you know the technique. Keep a divot tool in your pocket every round, fix what you dent, and fix a couple extra while you’re at it. The greens (and the golfers behind you) will be better for it.
Check out our divot tool if you need one, and swing by Gurdy’s Corner for more tips on getting the most out of your time on the course.